
How to Build a DIY Guppy Breeding Rack on a Budget
June 1, 2025 Betta Fish Guppy Fish
🐠 Introduction: Why a Breeding Rack Changes Everything
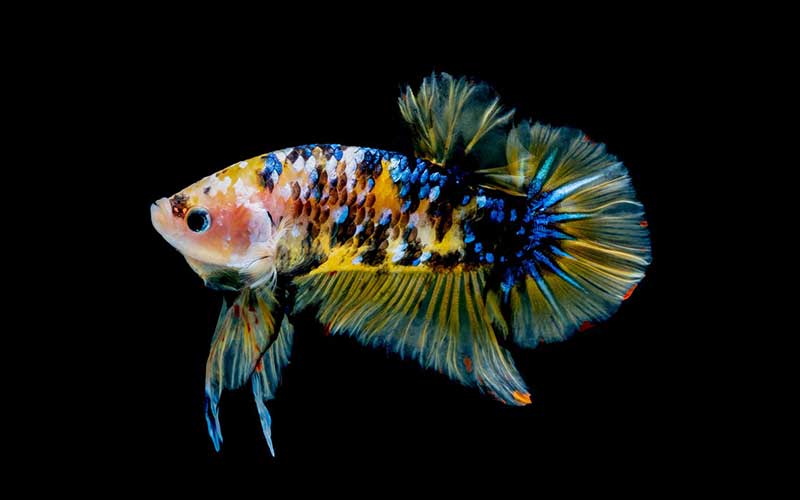
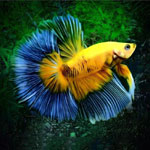
A healthy guppy pair ready for a breeding system.
If you’ve ever fallen in love with guppies, you know how quickly they multiply. A few pairs can turn into dozens of fry within weeks.
Managing them in a single tank gets chaotic — adults chasing fry, overpopulation, and water quality issues.
That’s where a DIY guppy breeding rack comes in.
It’s a space-saving, efficient system that lets you house multiple tanks for breeding, grow-out, and sorting — all on a single sturdy shelf.
Even better, you can build one yourself for under $100 with simple tools and supplies from your local hardware store.
🪚 1. Planning Your Guppy Breeding Rack
Before picking up tools, plan your rack’s size, layout, and purpose.
Ask yourself:
-
How many tanks do you want?
-
Are you breeding multiple strains?
-
Do you need grow-out or quarantine space?
🧩 Common DIY Rack Layouts:
-
3-Level Rack (for serious breeders):
-
Top: Breeding pairs
-
Middle: Fry grow-out tanks
-
Bottom: Filtration or holding tanks
-
-
2-Level Rack (for small setups):
-
Top: Adults
-
Bottom: Fry and juveniles
-
A simple sketch for planning your aquarium rack layout.
💡 2. Budget-Friendly Materials List
Here’s what you’ll need for a low-cost yet sturdy guppy rack:
| Item | Quantity | Approx. Cost | Notes |
|---|---|---|---|
| Metal or plastic shelf unit | 1 | $40 | Must hold 200–400 lbs total |
| 10-gallon tanks or tubs | 2–4 | $10–15 each | Plastic totes are cheaper than glass |
| Power strip | 1 | $10 | For lights and filters |
| LED strip lights | 2–3 | $15 | Clip-on lights also work |
| Sponge filters + air pump | 2–4 | $20 | Gentle flow ideal for fry |
| Airline tubing & splitter | 1 set | $5 | For connecting filters |
| Styrofoam or yoga mat sheets | As needed | $3 | Cushion under tanks |
| Zip ties, scissors, tape | — | $5 | For securing wires |
| Optional: plywood | 1 sheet | $10 | To reinforce shelves |
💰 Estimated Total: Around $90–$110, depending on local pricing.
⚙️ 3. Choosing the Right Shelving
Look for metal wire or heavy-duty plastic racks from Home Depot, Walmart, or IKEA.
Requirements:
-
Minimum depth: 16 inches, width: 36 inches
-
Height between shelves: 16–18 inches
-
Weight capacity per shelf: 100–150 lbs
Avoid wood racks unless they’re waterproof-sealed — moisture can warp and weaken them over time.
A standard wire shelving rack can hold multiple guppy tanks safely.
🧰 4. Assembling Your Rack
-
Assemble your shelf according to manufacturer instructions.
-
Reinforce joints using zip ties or corner brackets.
-
Add foam padding (yoga mat or Styrofoam) under each tank to distribute weight evenly.
-
Make sure the rack stands perfectly level to prevent tank stress cracks.
Pro Tip: Place the rack near a power outlet but away from direct sunlight or cold drafts.
💧 5. Choosing Tanks or Containers
You don’t need expensive aquariums — plastic storage tubs work great for breeding and fry tanks.
| Tank Purpose | Recommended Size | Container Type |
|---|---|---|
| Breeding Pair Tank | 5–10 gallons | Glass or clear tub |
| Fry Grow-Out Tank | 10–15 gallons | Plastic tote |
| Quarantine/Holding Tank | 5 gallons | Small tote or jar |
Clear tubs let you observe fish easily, while opaque ones reduce stress for fry.
Drill small holes near the top rim if you plan to connect them with a central air or water line system.
A low-cost plastic tub setup works well for guppy fry.
🌬️ 6. Filtration and Air Supply
Use sponge filters — they’re cheap, effective, and fry-safe.
One air pump can run multiple filters using airline tubing and T-connectors.
Steps:
-
Attach all sponge filters via airline tubing.
-
Use a 4-way splitter for multiple tanks.
-
Adjust flow using valves — fry prefer gentle movement.
Optional Upgrade: Install a PVC air manifold if you expand your setup later.
💡 7. Lighting Your Rack
Each level needs soft, consistent lighting for plant growth and fish observation.
LED strip lights or clip-on lamps work perfectly.
Tips:
-
Use a timer (12 hours on, 12 off) to mimic daylight.
-
Avoid strong overhead lighting — it stresses fry.
-
Mount LED strips under each shelf using zip ties or adhesive backing.
LED strip lights mounted beneath shelves for even illumination.
🔄 8. Water Management (Manual or Shared System)
You can keep it simple or go semi-automated:
Manual:
-
Use a siphon hose or turkey baster for daily maintenance.
-
Replace 20–30% of water weekly.
Semi-Automated:
-
Connect all tanks via overflow pipes to a shared sump.
-
Use one main filter and heater in the sump.
-
Return water via an airlift or small pump.
For budget setups, manual changes are perfectly fine — just be consistent.
🌡️ 9. Heating Options
If your room temperature stays between 75–80°F (24–27°C), you may not need individual heaters.
Otherwise, use:
-
One heater per tank, OR
-
A space heater for the entire fishroom (cheaper for multiple tanks).
Always monitor with a digital thermometer to prevent overheating.
🪸 10. Organizing Your Breeding Program
Designate each rack level for a purpose:
| Rack Level | Function | Description |
|---|---|---|
| Top | Breeding Pairs | Observe color, fins, and mating |
| Middle | Fry Grow-Out | Feed high-protein baby food |
| Bottom | Holding/Quarantine | Isolate new or sick fish |
Label tanks with strain names and breeding dates using masking tape or waterproof labels.
A clean, labeled system helps track each guppy line accurately.
🧪 11. Feeding and Maintenance Routine
To manage multiple tanks efficiently:
-
Feed fry 3–5 small meals daily (baby brine shrimp, micro worms, powdered food).
-
Siphon uneaten food daily.
-
Rotate feeding times so all tanks get attention.
-
Top up evaporated water with dechlorinated tap water.
Keep a small notebook or digital log for each batch — noting feeding habits, births, and color progress.
⚖️ 12. Safety and Stability Checks
-
Always check rack bolts and supports monthly.
-
Inspect cords and outlets for water drips.
-
Keep a power strip with surge protection mounted above the floor.
-
Have towels and a bucket handy for emergencies.
Safety equals peace of mind — especially if your setup runs 24/7.
🧬 13. Expanding Your System
Once you’ve mastered 3–4 tanks, scaling up is easy.
You can:
-
Add another rack beside it.
-
Install a shared sump for automatic filtration.
-
Run breeding lines for different color strains (Cobra, Moscow, Endler hybrids).
Keep your expansion modular — it’s easier to maintain than one massive system.
🎥 Bonus: DIY Guppy Rack Video
🎬 Watch: “DIY Aquarium Rack Build for Breeders” (by Aquarium Co-op on YouTube)
A practical, step-by-step visual of a similar rack build using affordable materials.
🧭 Final Thoughts
A guppy breeding rack isn’t just for big fishrooms — even beginners can set one up on a small budget.
With a bit of creativity and organization, you can turn a corner of your room into a productive guppy breeding station.
You’ll enjoy:
-
Cleaner water quality
-
Easier fry management
-
More control over genetics
Start small, stay consistent, and soon you’ll have a thriving guppy empire — all built with your own hands and ingenuity.